Monday 31 December 2012

Green Tomato Chutney – Using your Harvest


There’s nothing quite like eating your own fruit & veg that you have grown and just picked from the garden, and an extension of that is to be able to substitute homemade jams & chutney for shop bought products.

With our crop of home grown tomatoes we made chutneys & relishes, soups & sauces as well as freezing some chopped to give us more scope on using them later. Towards the end of the season we did end up with quite a few green tomatoes which were slow to ripen so this recipe for Green Tomato Chutney came in quite handy...

Depending on how many jars you want or how many tomatoes you have, you can scale up the amounts accordingly to suit.

MAKES 1 x 500g jar.

400kg of green tomatoes

125g chopped Onions

100g of chopped / peeled / cored cooking Apples

40g Raisins

100g brown sugar

125ml white vinegar

5g fresh root ginger

½ teaspoon salt

¼ teaspoon mixed spice


1.       Dissolve the sugar with the vinegar in a large pan over gentle heat.

2.       Chop the tomatoes and add to the pan with all of the other ingredients

3.       Bring the contents to the boil and then simmer for about 1½ hrs. until its thick

4.       Ladle into sterilised jars and seal with airtight lid immediately. Make sure both lids and jars are sterilised by either heating them in oven / microwave or by using a solution such as Milton.

5.       Allow jars to cool before applying labels.

6.       For best results leave chutney to mature for about a month before using it, in a cool dark place. Will keep for a year unopened, but once you start to use it store in the fridge and use within   3-4 weeks.

Untill the next time - Happy Gardening & Good Cooking !

Thursday 6 December 2012

Preserving & Using your Harvest


At this time of year we look back on our growing season and I presume you , like me, wouldn’t bother with all the work, wet days & cold days in  the garden unless there was a reward at the end of it – the Harvest , not in the traditional meaning but none the less a crop to use. So that’s what I thought I’d concentrate on here – ways to use & preserve our fruit & veg.


Tomatoes:

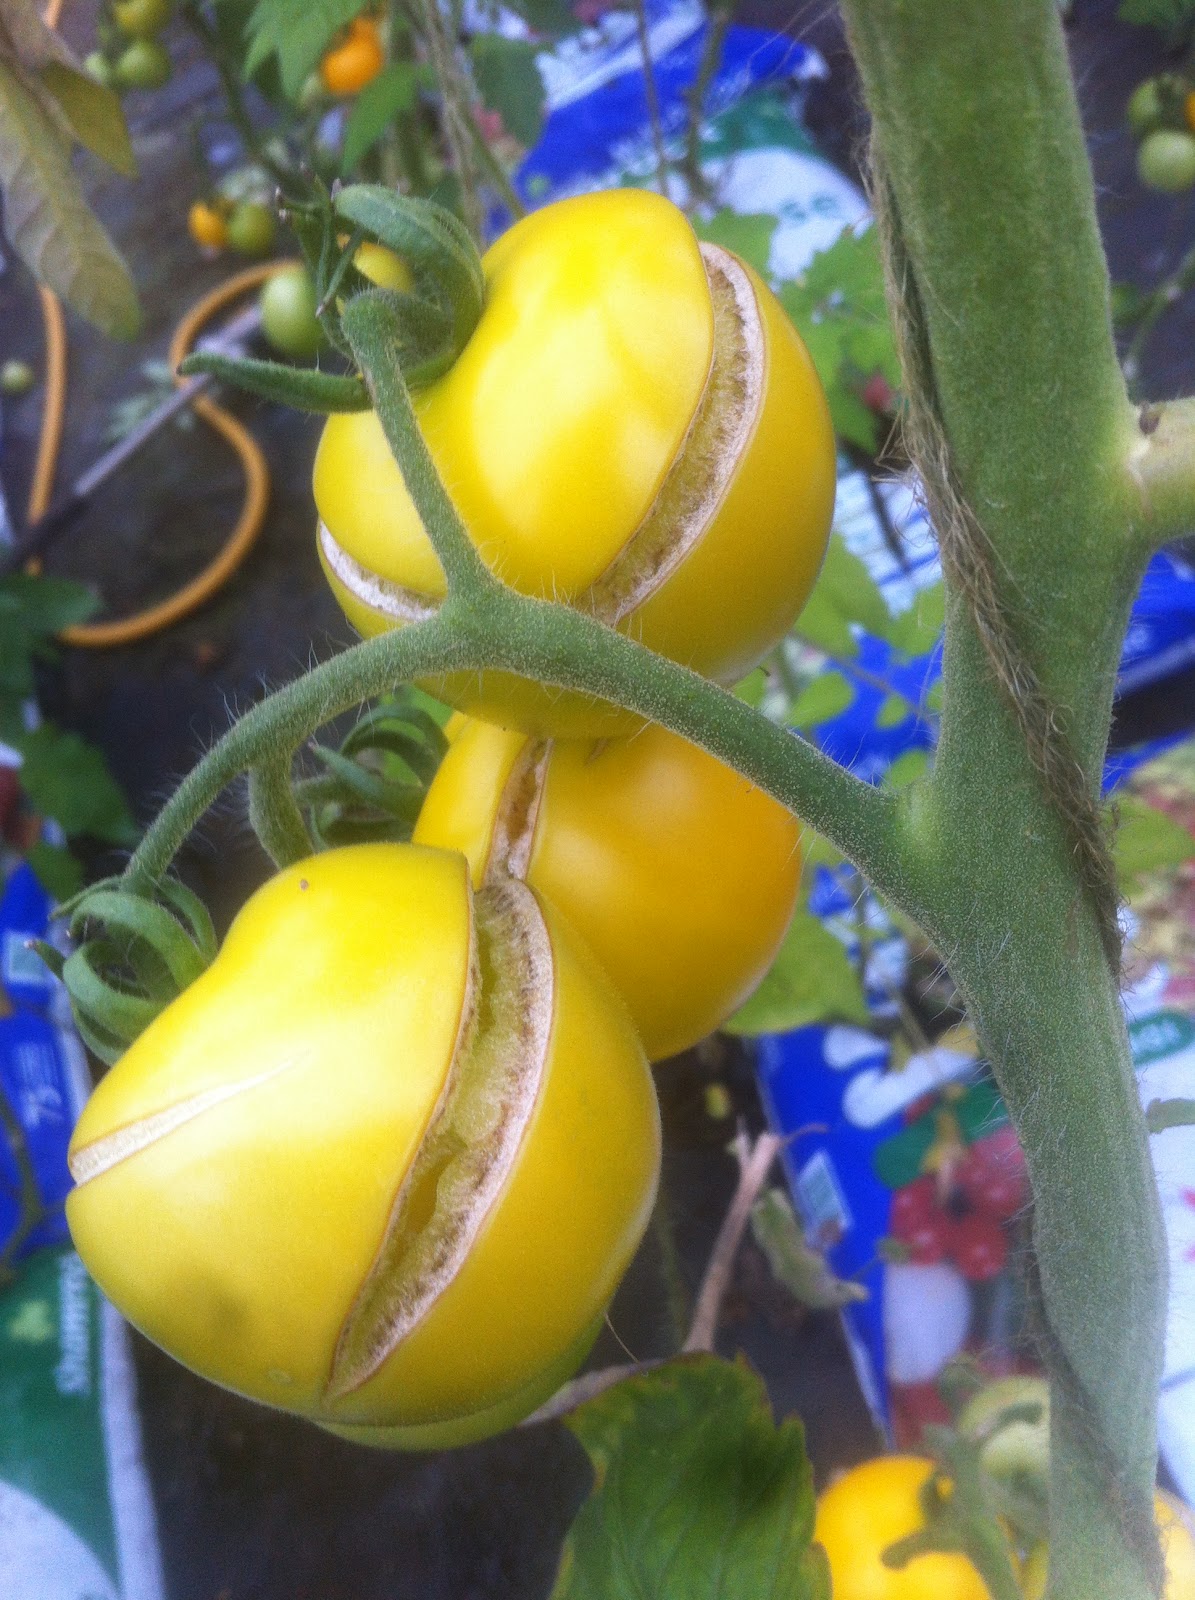
The biggest crop we had was the tomatoes which was not surprising really because we grew quite a few varieties in a number of different ways, mainly as trials. We were still producing them late into the season when salads had long since finished to get rid of them in any great numbers. Friends & neighbours were also beginning to duck when they saw me coming with baskets of my gifts! So we turned to preserving them or preparing them for other uses.

·       Freezing them - lots of recipes require a 400g tin of chopped tomatoes, not anymore! I’ve chopped and frozen red, yellow & mixed bags of around 500g to easily use in cooking over the next few months.

·       Soups – Slow roast tomato with chorizo chips, Tomato & roast fennel, and Tomato & roast pepper are a few we’ve tried. They freeze well too, so make a large batch and keep some for a quick meal later.

·       Chutney – Green Tomato Chutney was a life saver for using up those stubborn green tomatoes that just wouldn’t ripen, or the spicier Roasted Red Pepper & Tomato Chutney used up plenty of our red & yellow tomatoes too.

·       Sauces – with bolognese, curries and lasagne ever popular sauces are great at using up your tomatoes.

Recipes to follow for all of the above – watch this space.
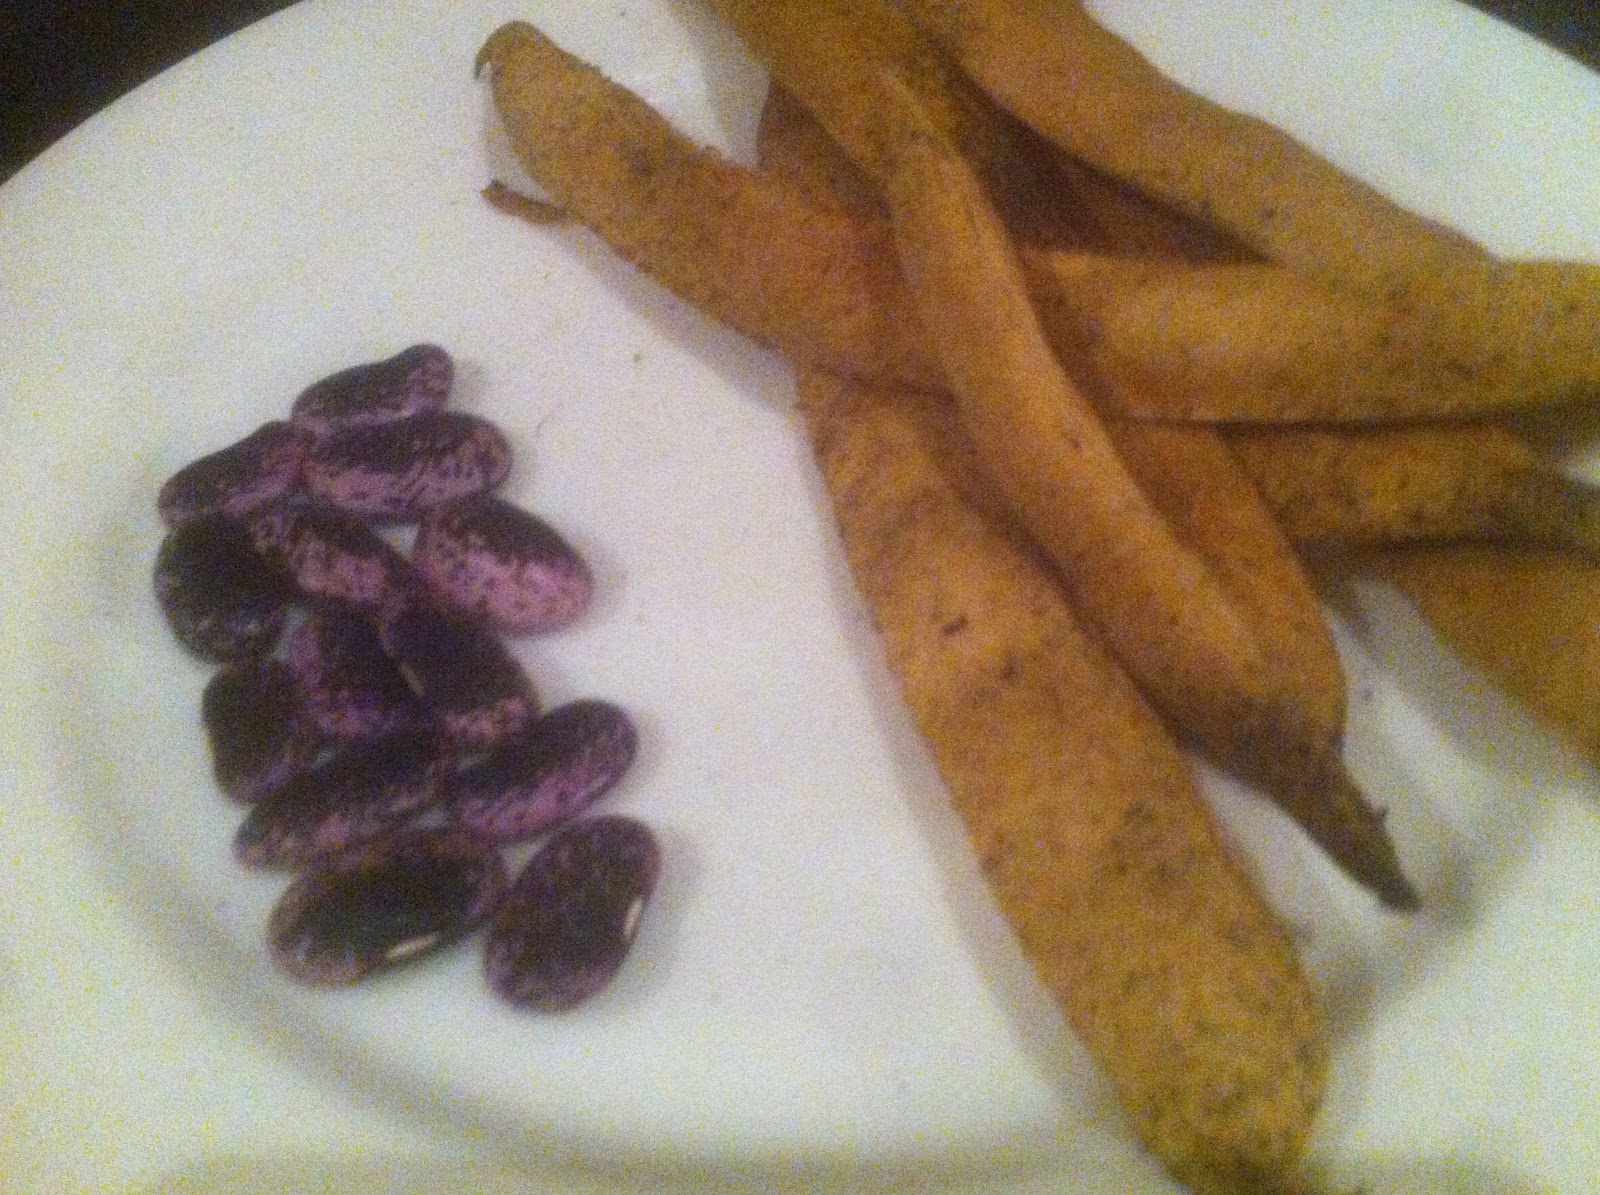
Beans:

We had a good crop of both Broad beans and Runner beans. After using those all summer when in season I’ve turned to other means of using these crops.

·       Chutney – Runner Bean Chutney - great with curries!

·       Freezing – your own fresh frozen veg (you know what I mean!)

·       Seed – why not save seed from pods that have gone past their best for picking. Near the end of the season, I left pods ripen on the plant. Let them dry as long as you can, but just before they open and drop their seed. Use them next season to start again.

Fruit:

Hard to get to the stage of having too many strawberries but we did put some by for keeping. Apples too can be tricky to store – no bruised fruit, no touching and cool dry storage and your part of the way. We tried a few well use methods for our fruit and a new one to us

·       Freezing – Apples I sliced and placed in freezer bags, strawberries are best frozen on trays, well-spaced out and then bagged & stored. This way they are easier to separate and use a few, rather than having to defrost and use the entire bag.

·       Tarts – Apple Tarts freeze well too, so it’s an alternative to just freezing the fruit.

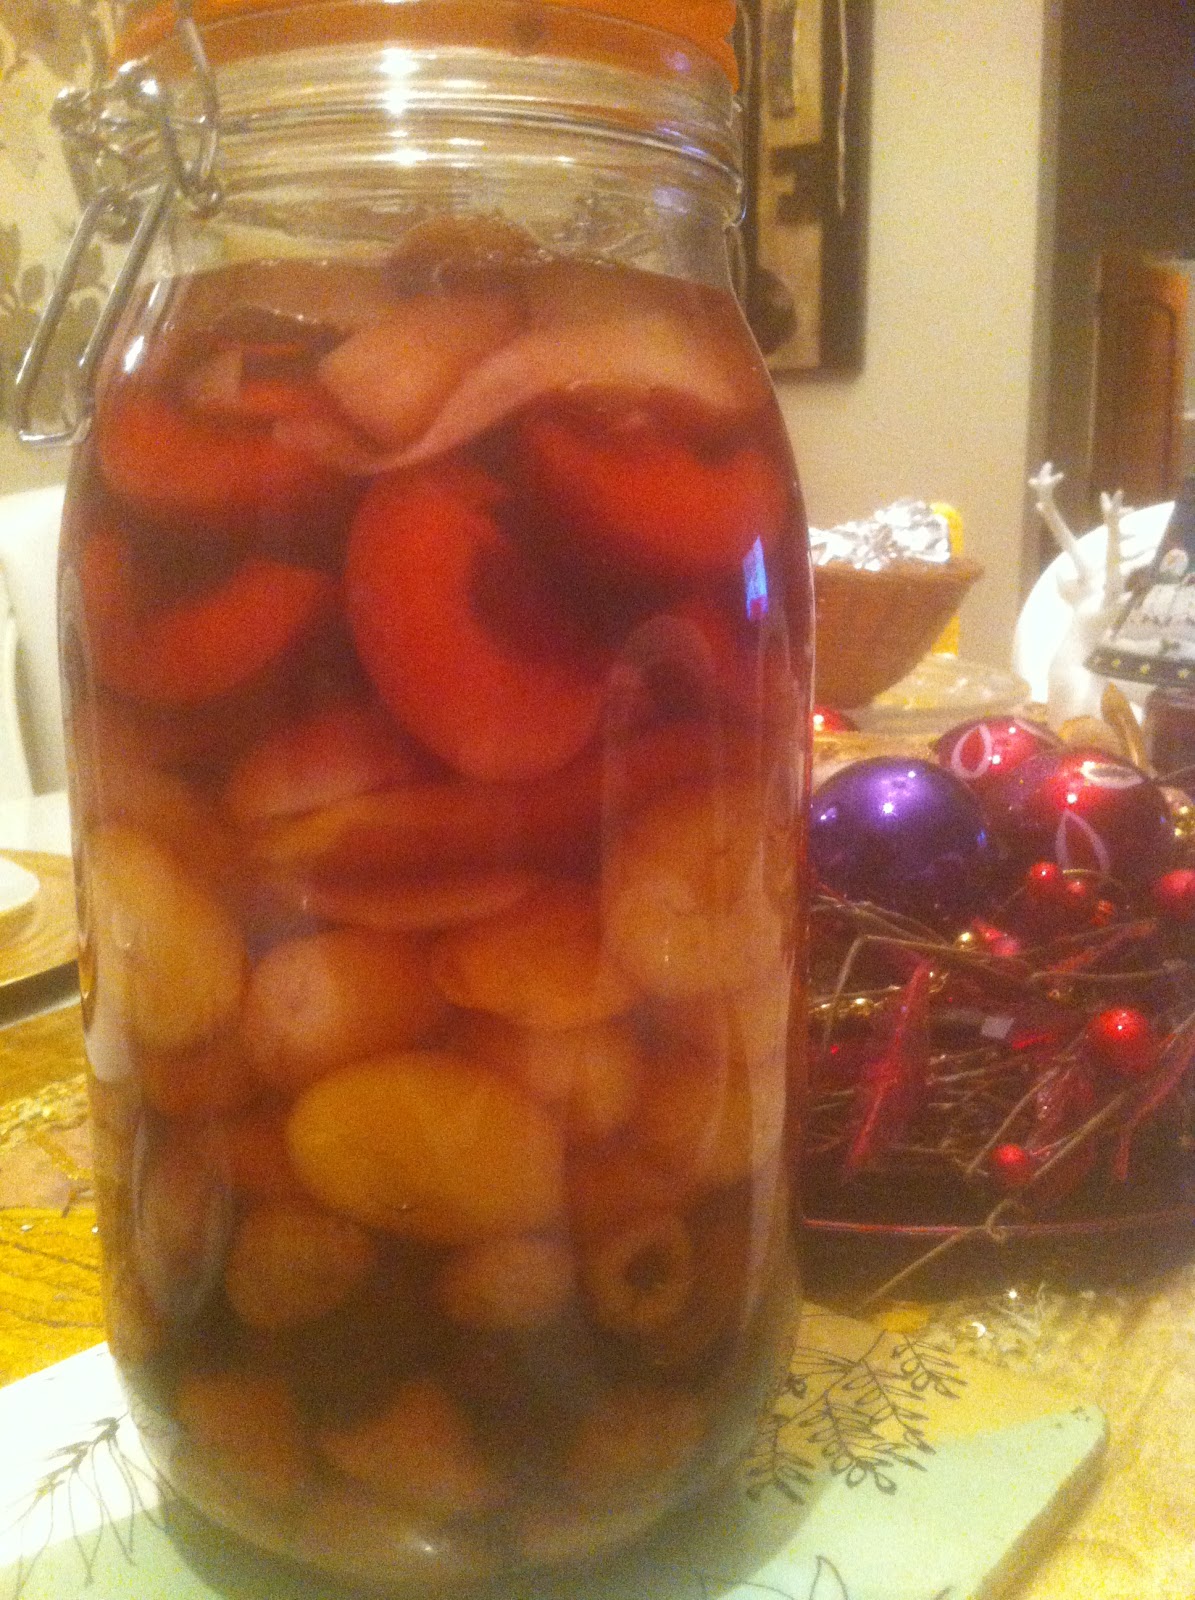
·       Hodgkin – Although I’ve heard of this, never tried it. My son Jonathan came up with the idea of using this to “preserve” fruit - the idea of the Alcohol never interested him. His way of selling us on the idea was we got two end products, fruit flavoured brandy and brandy flavoured fruit for Christmas Day!


Here’s our first recipe –

1.       Depending on the size of the jar you will need about 200g of each fruit. Wash everything well before adding to jar. Half or even quarter larger fruit to about Raspberry/cherry size. Hull and stone as appropriate. Fruit suitable includes: Strawberries, Raspberries, Cherries, Peaches, Apricots, Redcurrants, Blackberries, Plums, Apples (slice) & Pears.

2.       Make sure jar is sterilised – even when preserving in alcohol.

3.       Put in a layer of one of your chosen fruits, sprinkle with two tablespoons of white granulated sugar and then cover with brandy, doesn’t have to be the dear stuff!

4.       You don’t have to fill the jar in one go, just remember to seal lid well and place in  cool dark place until you put in another layer of fruit ,sugar & brandy.

5.       After last layer put in at least 2-3cm of brandy above fruit.

This is easy to do but slow to mature, you need to start in early summer when first fruits are ready and end in autumn when last fruits are used. I’m assured it will be ready for Christmas.


Hope your inspired enough to try some of our methods of saving & using our garden produce.

Until next time – Happy Gardening.

Friday 16 November 2012

Making Compost Heaps and Leaf Mould


We are all advised now to re-cycle and most of us have a “brown bin” for kitchen/green waste collection. By making a Compost heap we can use this very same material , along with other bulky green waste items that tend to fill the in rather quickly like grass cuttings, contents of summer hanging baskets/pot, as well items from your “green” re-cycling bin like newspapers /cardboard. Brown & Green bin collections have historically been free, but times are changing so starting a compost heap could save you money twice – less on bin collection and great free compost for your garden.


The Bin:

Buy or make? Whatever you decide there is one for you. Some council provide either free or subsidised versions, so check your local council before you buy. You can buy easy to slot together ones or even tubs on a frame with a lid that you can tumble (mixing heaps will speed things up, and great if you’re stuck for space.) I decided to build a large one with old pallets, but any old wood could be used to construct a square to keep things tidy. At the end of the day that is the main purpose of the structure – keeping everything together and tidy. It would work just piling all your compostable material in a big heap, but it would also take longer.

The Contents:

For best results, and to speed things up, it’s best to have a mix of about 50% nitrogen rich and 50% carbon rich materials in the heap. As mentioned earlier you can speed things up by both mixing the materials as you put them in the compost heap, so you don’t get a whole load of grass cuttings put in together (will just go into slime!) or by turning your heap so that everything is mixed up – putting what was on top on the bottom and what was on the inside now on the outside. A bit of work but will seriously speed up the process. An added benefit will also be if you find the heap a bit dry you can add water, if wet add some dry material.

Nitrogen Rich List!

·       Urine

·       Comfrey leaves

·       Nettles

·       Grass cuttings

·       Poultry / Farm Yard manure

·       Tea leaves/bags & coffee grounds

·       Soft green pruning’s

·       Vegetable peelings (uncooked!)

Carbon Rich List!

·       Cardboard/egg boxes/cereal boxes/ cardboard tubes

·       Paper/newspapers – not glossy magazines

·       Woody clippings/wood shavings/sawdust

·       Contents of H/Baskets, pots etc.

·       Hay/Straw – hay can cause grass when used as seeds don’t die  even in hot heaps


Items to use sparingly List:

·       Wood ash

·       Crushed egg shells

·       Wool/cotton etc. only if 100%


Don’t Use List

·       Meat / Fish

·       Cooked foods

·       Coal ash

·       Cat or Dog litter

·       Disposable nappies!

Location:

Best location is near where you intend using it! It’s heavy to transport. Sunny or semi shaded position, that’s away from wells/streams. Best on soil rather than cement/paving ( before anyone asks or comments I put mine on cement for easy of location , but will stain it and no access to natures helpers , worms etc. . but you can add those that will help speed things up. A cover will stop things getting too wet and will help heat retention.
Your compost is ready when the material has turned dark brown and has an earthy /soil smell rather than a compost heap odour. Can take from two to three months and up to a year to depending on how often you turned it – or if you turned it! Any un composted woody bits can be picked out and put back in for next time .Ideally you would need a number of heaps on the go at the same time, one to fill, one to use and one maturing given the time required to compost everything right but we don’t all have that space , so we’ll have to make do …


Leaf Mould -
This is like a compost heap, but just for leaves. Usually constructed by wrapping a portion of chicken wire around four wooden stakes. Leaves are then collected and placed in the heap around this time of year. If not turned, will take a year to break down/compost but you’ll have the most wonderful compost/leaf mould that will be fine enough for seedlings! A small amount of grass cuttings can be added, but generally I don’t personally do this.

Hope you all try to start one, and until the next time – Happy Gardening
 

Sunday 11 November 2012

Gardening Jobs for November


This is by no means the only jobs that need to be done at this time of year but will give a little help in planning what to do. Remember winter weather will play a big part in deciding what we get done! But done panic, these are only guidelines; we can adjust our times to suit the weather. If weather is wet, stay off the garden because you are likely to compact the soil, better stick to other gardening tasks in that case.


Digging &Preparing the ground work for next year - 

Now is a good time to dig over any garden area that you intend using over the coming year if you haven’t already done so. It’s not the easiest job in the world so if you’re new to it, do small bits - a little at a time. By digging over your plot and digging in any compost or manure you might have will, not only add to the amount of nourishment of the soil but, give our frosty weather the chance to kill off any weeds and bugs that might otherwise give us grief next year. If your soil is a heavy clay type, any compost/manure you add will also have the benefit of improving drainage - not too many plants like to have their roots sitting permanently in water.


Broad Beans

Broad beans are easy to grown , in a sunny well composted( with the addition of potash) part of your garden . Tradionally grown up supporting canes and produce attractive flowers prior to fruiting for those that fancy incorporating them into your flowerbeds , the broad bean produce a white/lilac flower. Broad beans can be planted out , no later than the middle of November to get a head start for an early crop, these should be ready by June. You will have higher losses than those sown later outdoors in March, especially if we have a very wet winter. Sow your beans 9” apart and 3” deep. Again you will need to support the plant as it grows so it’s a choice again of you wig-wham crossed supports or circular. Once again I’m opting for pot growing but it’s just personal choice and of course it hasn’t been influenced by the fact I have a glasshouse at my disposal! When the broad beans are in full flower pinch out the tops, it has a number of benefits – producing an earlier bigger crop and reduces the risk of black fly attack (they like the softer young growth at the top).

Bean varieties  will benefit from being planted beside either beetroot or any of the onion family. Maize (corn) benefit from the nitrogen released by the roots of the broad beans. Rosemary also is a good companion plant for the bean family as it repels a lot of bean parasites, like bean beetle.


Garlic

Garlic is an easy plant to start off growing, and as it’s nice and mild at the moment it won’t too hard to get out into the garden. Nearly everybody uses garlic now in everyday cooking and there is nothing better than being able to use your own - it always tastes better.

Garlic bulbs are easily available and all you have to do is break them up into the individual cloves. Peel off the outer skin carefully; it makes sure your cloves are free from any fungus that might cause problems later. Plant cloves root down , approx. 2" deep and about 6 " apart in an area that gets sun or only light shade . They like free draining soil so if your soil is heavy or clay consider using sand/grit under the plants to improve drainage. Another solution is to use a raised be to improve drainage from the soil. Garlic likes cold weather so don’t mind if the weather turns cold after planting


Other tasks for November:

·       Hardwood cuttings

·       Pruning fruit trees & bushes

·       Last lawn cutting – not too low.

·       Plant Wallflowers to insure spring colour

·       Bulbs – not too late for these to produce spring colour either

·       Building compost heaps & collecting /clearing fallen leaves.

Sunday 4 November 2012

Winter Baskets and other planted containers


Even though we won’t get the glorious show of our summer hanging-baskets, planters and window-boxes, we can still enjoy some colour throughout these cold winter months by planting up our containers with colourful shrubs, viola, pansies and polyanthus.
 

The choice of shrubs can be a major factor in making the container “work”. The use of bright coloured Conifers, Phormiums,Cordyline and Hebe as centre pieces set the tone & structure for whatever type of container you are filling, be it hanging-basket , window-box or planter/pot .  The size of the centre plant will be determined by the size of your container and whether or not you intend to more than one shrub or just fill the remaining space with bedding plants.

As your planters/baskets will potentially have to last longer than summer versions don’t forget to put in a slow release fertiliser (at least 5-6 month but versions up to 12-14 month are available). Use the longer version if using shrubs that you don’t intend repotting nest summer after your winter bedding has finished. Don’t overlook the use of bulbs in your containers, small varieties in baskets if used and larger daffodils/tulips in your bigger pots.


List of suitable centre plants

·       Conifers - lime coloured “Gold crest” works particularly well

·       Cordyline - red/pink most striking , but not as hardy

·       Phormium - red/variegated versions show best

·       Hebe -  red , green and variegated with most forms flowering

·       Skimmia – dark foliage with small maroon or light green berry that turn into flower in spring


List of additional filler plants

·       Ivy’s

·       Skimmia – dark foliage with small maroon berry that turn into flower in spring works best

·       Hebe – various types from red green and variegated with most forms flowering.

·       Aucuba – a spotted version of the laurel

·       Euonymus - 'Emerald 'n' Gold' with bright-golden variegated foliage

·       Carex  - grasses that add colour & dimention to any basket / planter

·       Photinia – Red Robin , all new foliage appears red before turning green


List of flowering plants for winter use
·       Viola
·       Pansy
·       Cyclamen
·       Polyanthus/Primrose
·       Bulbs – chose small varieties for baskets like snowdrop/ anemones/ Muscari


Best of luck with all your choices and until next time – Happy Gardening!

Sunday 14 October 2012

Daffodils & other spring bulbs for all locations


Now is the time to start thinking about planting bulbs for next spring. There are numerous ways of using bulbs of all kinds – flowerbeds , lawn, pots & containers or naturalised in a meadow ( for best most natural  looking results , scatter handfuls of bulbs and then plant exactly where they fell ). If the location you’re thinking of isn’t ready for planting now, think ahead and plant in pots. You can always replant the pots later when your preferred site is ready – that way your bulbs won’t be late or worse missing altogether!

Bulbs like to be in ground that is well drained so their roots are not sitting in water. If your soil is on the heavy/clay side you can lighten it with course sand/grit mixed with organic matter. Even if planting in pots or containers use some vermiculite or grit to lighten the compost and the use of some crocks at the end of the pot to assist drainage.
 

A general rule of thumb when planting bulbs is that you plant them 4 times their own size, i.e. a 1” bulb would need to be planted 4” deep. There are some exceptions – Madonna lilies ( Lilum Candidum ) require shallow planting.
Planting details on bag
 for various bulbs
There are generally very good instructions on bulb packets about planting requirements and even when buying loose bulbs information is often on the paper bags you receive them in, as I found during a recent purchase in a Garden Centre. When buying the bigger the bulb, of each variety, the bigger the flower produced. Also try to make sure bulbs bought are firm and free from any rot/mildew etc...


Bulbs also come in various amounts - depending on the quantity you require . From 25kg sacks to mixed packs in assorted matching colours . Spoilt for choice !


Most bulbs like full sun or light shade but there are bulbs for all occasions

·       Shade: Any of the woodland bulbs fall into this category – Dogs Tooth Violet (Erythronium dens-canis) and Wood Anemone (Anemone Nemorosa). Also Scilla peruviana, Scilla siberica, and Scilla bifolia would also do well. If you have a rich soil Fritillaria camschatcensis and Fritillaria imperialis love these conditions and will reward you with two very different displays.

·       Dry: ever wondered what to plant at the base of a hedge? Well , the following bulbs will not only flower in these conditions bit thrive and multiply – Anemone blanda, Chionodoxa forbesii and Tulip whattallii  

·       Damp: Now damp doesn’t mean water logged! Moist soil will provide the perfect habitat for Wild Hyacinth (Camassias ) Summer Snowflake ( Leucojums vernum ) and Snakes Head Fritillary ( Fritillaria meleagris )


       No matter what type of garden or soil type you have , or what kind of flowers you prefer , I hope I've encouraged you to plant some bulbs now so you can enjoy them later .

       With that in mind FLOWERS & FOLIAGE has 50 mixed daffadils to give away, 10 each to the first 5 emails requesting them - just put free bulbs into the subject line - to : info@flowersandfoliage.ie .

      Until next time , Happy Gardening .


Monday 8 October 2012

Tomatoes - a year of contrasting fortunes!


Well we touched on this subject last week , about what went right and wrong in our tomatoes growing in 2012.I grew 6 varieties this year , all in various containers of one sort or another and all under glass. Majority were grown from seed with a few young bought in plants sown as well.

The three different types of container used this year were:

Hanging-basket: used to grow Tumbling Tom, grew well enough, but I think I over did it putting three plants into a 14" basket. I think one would have done fine or maybe two in a 16" basket. Wasn’t totally convinced about the taste either, but I was comparing then to Gardeners Delight, which I found much sweeter. But I have to say Tumbling Tom did produce masses of fruit and made great soup - well my niece Debbie did and everybody loved it.


Container: I bought a few plants of Gardeners Delight to try out growing these tomatoes in 40cm pots and they did very well. Produced masses of beautiful sweet fruit that were delious. No problems encountered and highly recommend you try these next year if you didn’t do so this year.


Grow-bags: Well I cheated slightly as I used 75lt bags of compost instead of the traditional grow-bag, which I find a little too small. I tried putting both 4 plants per bag as well as 6 per bag. The ones with only 4 in did better - just too overcrowded using 6. I cut a hole in the centre and scooped out a little compost to create a well for easy watering. Five varieties were planted in these grow-bags – all grown from seed .

·       Gardeners Delight: These little cherry type tomatoes did just as well as when planted in the 40cm pots. Can’t say enough about them – Try Them!


·       Golden Sunrise: Produced masses of lovely yellow mid-sized fruit. Great taste & looked fantastic. Really stunning versatile fruit for cooking or salads.

·       Marmande: A good beef tomatoes that was slightly slower than the other four to ripen but well worth the wait. Not as many fruit produced but much bigger of course, and with a great taste.

·       Tigerella: Stunning slightly stripped mid-sized tomato with good crop of tasty fruit. Stripes were more pronounced when green but a great tomato all the same.

·       Moneymaker: well-known variety that produced masses of bright red tomatoes. Great taste.


Problems encountered:


·       Fruit splitting – A number of the varieties had fruit that split at times, Golden Sunrise & Moneymaker the main culprits. This was my own fault caused by letting them dry out a little and then over compensating with the watering. The inside of the fruit started to grow faster than the outer skin could stretch, causing the skin to split. Unsightly but still ok to use.


·       Tomatoe End Rot – starts with a black spot on the end of the tomato and spreads until it is a large back area covering the end of the tomato. Caused by lack of Calcium. Most common cause of this is irregular watering. A tomato feed that is high in Potassium and low in nitrogen will help release the calcium in the soil. A general feed also would contain a lot of other trace elements like Calcium needed for healthy growth.

As you can see, a lot of the problems were of my own doing. Letting them dry a little caused both problems. Regular feeding also helps rather than a lot all at once. Next Season!


Until the next time – Happy Gardening.